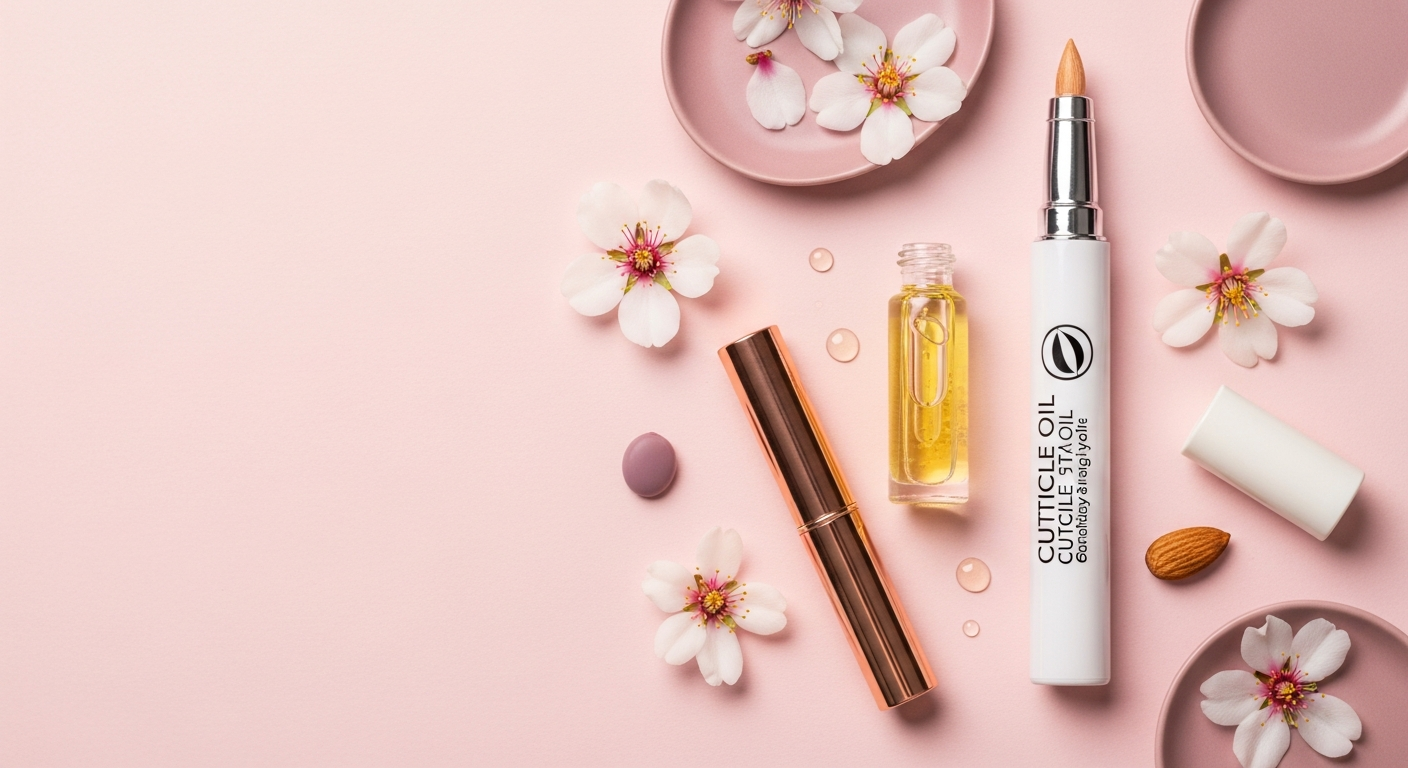
Homemade Almond Oil Cuticle Oil Pen: Keep Your Nails Perfect On the Go
There's something so satisfying about having perfectly polished nails and healthy cuticles wherever you go. If you're tired of dry, raggedy cuticles but don't want to carry around messy bottles, this DIY cuticle oil pen is about to become your new best friend! Using nourishing almond oil for nails as our star ingredient, we'll create a portable solution that fits right in your purse or pocket.
This homemade cuticle oil pen recipe combines the moisturizing properties that people traditionally associate with sweet almond oil with the convenience of a twist-up applicator. Some users report that regular cuticle care may help support healthier-looking nail beds and softer skin around the nails. Plus, making your own means you control every ingredient that goes into your beauty routine!

Why Choose Almond Oil for Cuticle Care?
Sweet almond oil has been traditionally used in beauty routines for centuries, and it's particularly beloved for nail care applications. As an excellent almond oil carrier oil, it absorbs well into the skin without leaving a heavy, greasy residue. Many people find that almond oil may help support skin moisture levels, making it an ideal base for our DIY cuticle oil blend.
Unlike some heavier oils, almond oil is generally well-tolerated by most skin types and won't interfere with nail polish application once absorbed. Research suggests that oils rich in vitamin E, like sweet almond oil, may help support the skin's natural barrier function.
Recipe Details
Difficulty Level: Beginner
Prep Time: 10 minutes
Yield: 1 cuticle oil pen (approximately 0.3 fl oz)
Ingredients You'll Need
Here's everything required for this simple diy cuticle oil almond oil recipe:
- 2 tablespoons (1 fl oz) sweet almond oil - the nourishing base
- 3-4 drops vitamin E oil - may help support oil freshness
- 2-3 drops lavender essential oil - for a calming scent (optional)
- 1-2 drops lemon essential oil - traditionally used for brightening (optional)
- 1 empty cuticle oil pen or twist-up container - available at beauty supply stores or online
Equipment needed:
- Small funnel or dropper
- Clean mixing bowl
- Measuring spoons
Step-by-Step Instructions
Step 1: Prepare Your Workspace
Start with a clean, well-lit workspace. Wash your hands thoroughly and sanitize all equipment with rubbing alcohol. This helps ensure your homemade cuticle oil pen stays fresh longer.
Step 2: Mix the Base
In your clean mixing bowl, measure out 2 tablespoons of sweet almond oil. Add 3-4 drops of vitamin E oil and gently swirl to combine. The vitamin E may help support the stability of your blend.
Step 3: Add Essential Oils (Optional)
If using essential oils, add them drop by drop. Remember, less is more with essential oils! Start with 1-2 drops total and test the scent before adding more. Stir gently with a clean stirring stick or toothpick.
Important Safety Note: Essential oils must be properly diluted. This recipe maintains a safe 1-2% dilution ratio. Never use essential oils undiluted on skin.
Step 4: Fill Your Pen
Using your small funnel or dropper, carefully transfer the oil mixture into your empty cuticle pen container. Fill slowly to avoid spills and air bubbles. Leave a small amount of space at the top to prevent overflow.
Step 5: Test and Adjust
Replace the pen cap and twist up a small amount to test the flow. The oil should dispense smoothly without being too thin or too thick. If needed, you can add a tiny bit more almond oil to thin the mixture.
Safety Warnings and Precautions
Always perform a patch test before using any new DIY beauty product. Apply a small amount to your inner wrist and wait 24 hours to check for any reaction.
Essential Oil Safety:
- Never exceed the recommended dilution ratios
- Citrus oils like lemon can increase sun sensitivity
- Pregnant or nursing individuals should consult healthcare providers before use
- Keep away from eyes and mucous membranes
General Precautions:
- If you have nut allergies, consult with a healthcare provider before using almond oil
- Discontinue use if any irritation occurs
- Store away from heat and direct sunlight
Storage Instructions and Shelf Life
Your homemade cuticle oil pen should be stored in a cool, dry place away from direct sunlight. The bathroom medicine cabinet or a bedroom dresser drawer works perfectly. Properly stored, this blend may maintain its quality for 6-12 months.
Signs it's time to make a fresh batch:
- Change in scent (rancid or off smell)
- Change in consistency
- Visible separation that doesn't mix when shaken
- Any skin irritation upon use
Variations and Substitutions
The beauty of this DIY almond oil recipe is how customizable it is! Here are some popular variations:
Scent Variations:
- Citrus Fresh: Replace lavender with sweet orange or grapefruit essential oil
- Floral Blend: Try geranium or ylang-ylang instead of lavender
- Unscented: Skip essential oils entirely for sensitive skin
Oil Substitutions:
- Jojoba oil: Can replace up to half of the almond oil for a lighter feel
- Fractionated coconut oil: Mix with almond oil for faster absorption
- Argan oil: Add 1 teaspoon for extra nourishment
Specialty Blends:
- Strengthening blend: Add 1-2 drops frankincense essential oil
- Cooling blend: Include 1 drop peppermint oil (use sparingly!)
How to Use Your DIY Cuticle Oil Pen
Using your new homemade cuticle oil pen is incredibly simple! Just twist up a small amount and gently massage into cuticles and nail beds. Many people find that applying cuticle oil 2-3 times daily may help support healthier-looking nails and softer cuticles.
The best times to use your cuticle oil pen:
- After washing hands
- Before bed
- After removing nail polish
- Anytime your cuticles feel dry
Troubleshooting Common Issues
Oil won't dispense: The mixture might be too thick. Try adding a tiny amount more almond oil.
Oil dispenses too quickly: The blend may be too thin. Let it settle and try again, or add a small amount of slightly thicker oil like jojoba.
Pen mechanism stuck: Clean the twist mechanism with a cotton swab dipped in rubbing alcohol.
The Perfect Travel Companion
This DIY cuticle oil pen makes an excellent travel companion! It meets airline liquid restrictions, won't leak in your purse, and provides instant nail care wherever you are. Many users find that having proper cuticle care tools readily available helps maintain their nail care routine even during busy periods.
Consider making several at once - they make wonderful gifts for fellow nail care enthusiasts! You can even create custom labels with the ingredients and date made for a professional touch.
Remember, while this homemade cuticle oil pen recipe uses ingredients traditionally associated with nail and skin care, individual results may vary. If you have specific concerns about nail health, it's always wise to consult with a healthcare provider or dermatologist.
Happy DIY-ing, and enjoy your perfectly portable nail care solution!