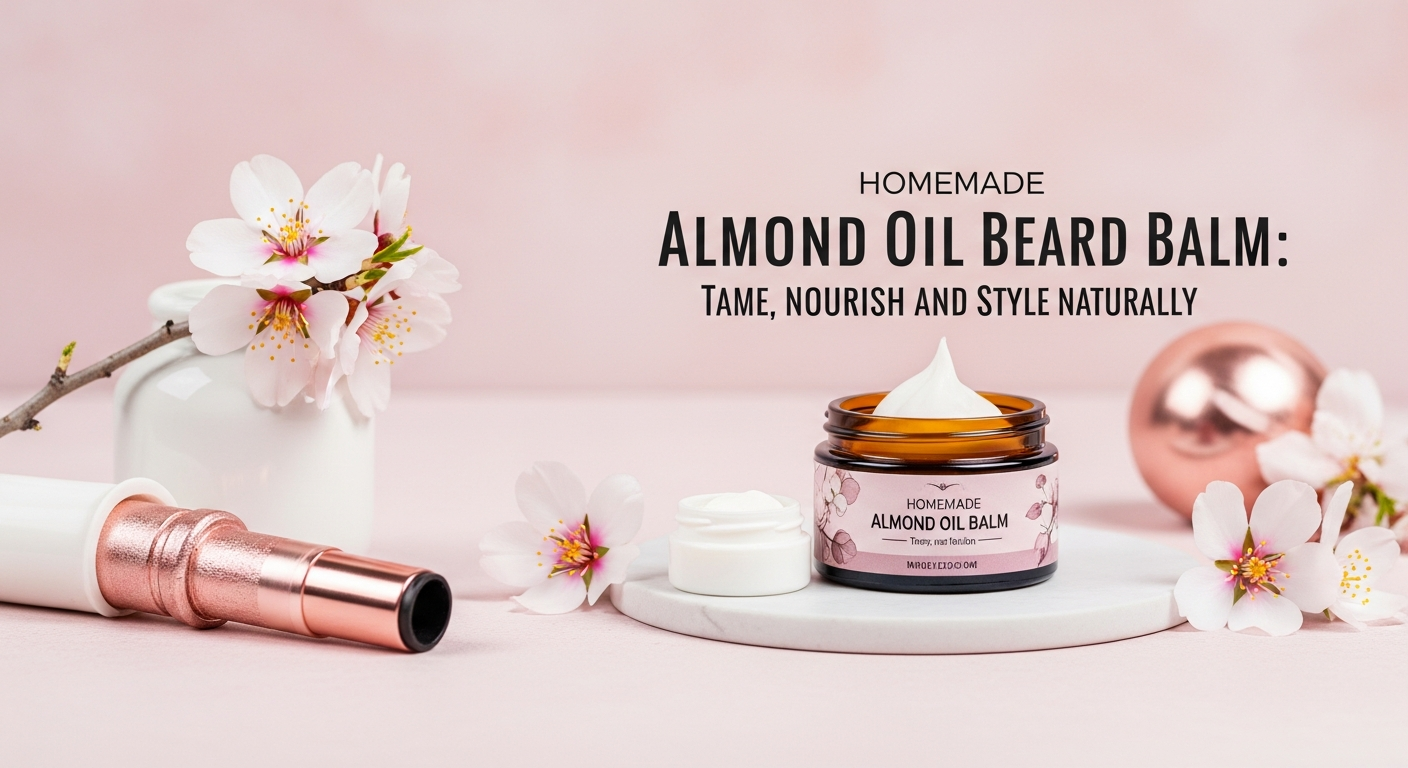
Homemade Almond Oil Beard Balm: Tame, Nourish, and Style Naturally
Creating your own DIY almond oil beard balm is easier than you might think, and the results can be incredibly rewarding. This homemade beard balm recipe combines the moisturizing properties that sweet almond oil is traditionally known for with the holding power of natural waxes to create a styling product that many bearded enthusiasts find helps manage unruly whiskers while potentially supporting softer-feeling facial hair.
Unlike commercial products that may contain synthetic ingredients, this almond oil beard balm recipe uses simple, natural components you can customize to your preferences. Sweet almond oil has been traditionally valued in grooming routines for its lightweight texture and the way it may help support skin moisture without leaving a heavy residue.
Why Choose Almond Oil for Your Beard Balm?
Sweet almond oil brings several qualities that make it popular in beard care routines. This carrier oil is traditionally appreciated for:
- Its lightweight consistency that may absorb well without greasiness
- Being generally well-tolerated by various skin types
- Its mild, pleasant scent that works well with essential oils
- The way it may help support skin hydration
- Its stability and relatively long shelf life
Many people report that almond oil feels comfortable on both facial hair and the underlying skin, making it an excellent base for a beard balm that needs to work on multiple levels.
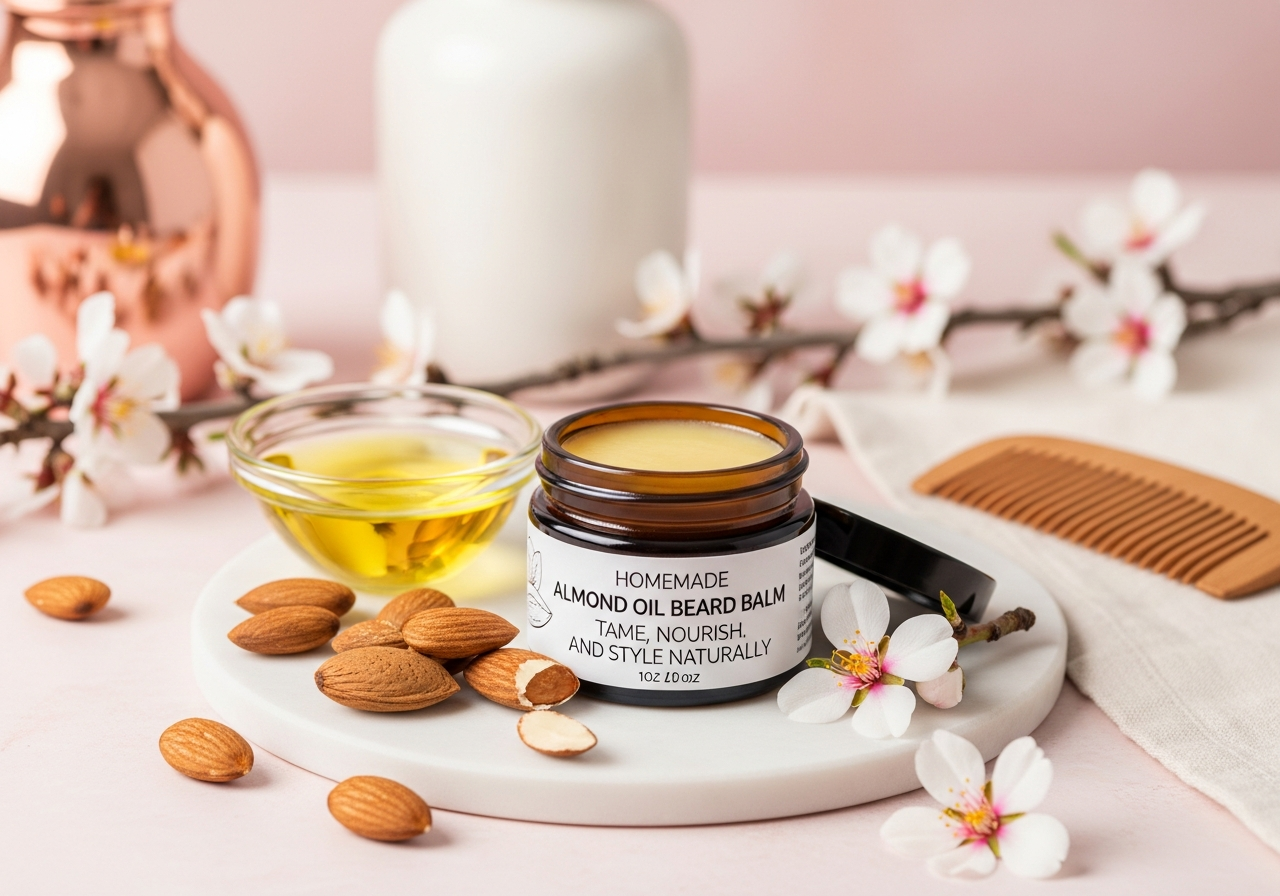
Complete Ingredients List
Base Recipe (Makes approximately 2 oz of balm):
- 2 tablespoons sweet almond oil
- 1 tablespoon beeswax pellets (or grated beeswax)
- 1 tablespoon shea butter (unrefined preferred)
- 10-15 drops essential oils of choice (optional)
Equipment Needed:
- Double boiler or heat-safe glass bowl
- Small saucepan
- Wooden stirring stick or spoon
- Small containers for storage (2 oz capacity)
- Measuring spoons
Step-by-Step Instructions
Difficulty Level: Beginner
Prep Time: 10 minutes
Total Time: 30 minutes (including cooling)
Step 1: Set Up Your Double Boiler
Fill a small saucepan with about an inch of water and bring to a gentle simmer. Place your heat-safe glass bowl on top, ensuring the bottom doesn't touch the water. This gentle heating method prevents overheating your ingredients.
Step 2: Melt the Beeswax
Add the beeswax pellets to your bowl first, as they take the longest to melt. Stir occasionally with your wooden spoon until completely liquid. This usually takes 3-5 minutes.
Step 3: Add Shea Butter
Once the beeswax is melted, add the shea butter. Continue stirring until it's completely incorporated and the mixture is smooth. The combination should be clear and well-blended.
Step 4: Incorporate Almond Oil
Remove the bowl from heat and slowly stir in the sweet almond oil. Mix thoroughly to ensure all ingredients are well combined. The mixture should have a smooth, uniform consistency.
Step 5: Add Essential Oils (Optional)
If using essential oils, add them now while the mixture is still warm but not hot. Stir gently to distribute evenly. Popular choices include cedarwood, sandalwood, or citrus oils, but choose scents you personally enjoy.
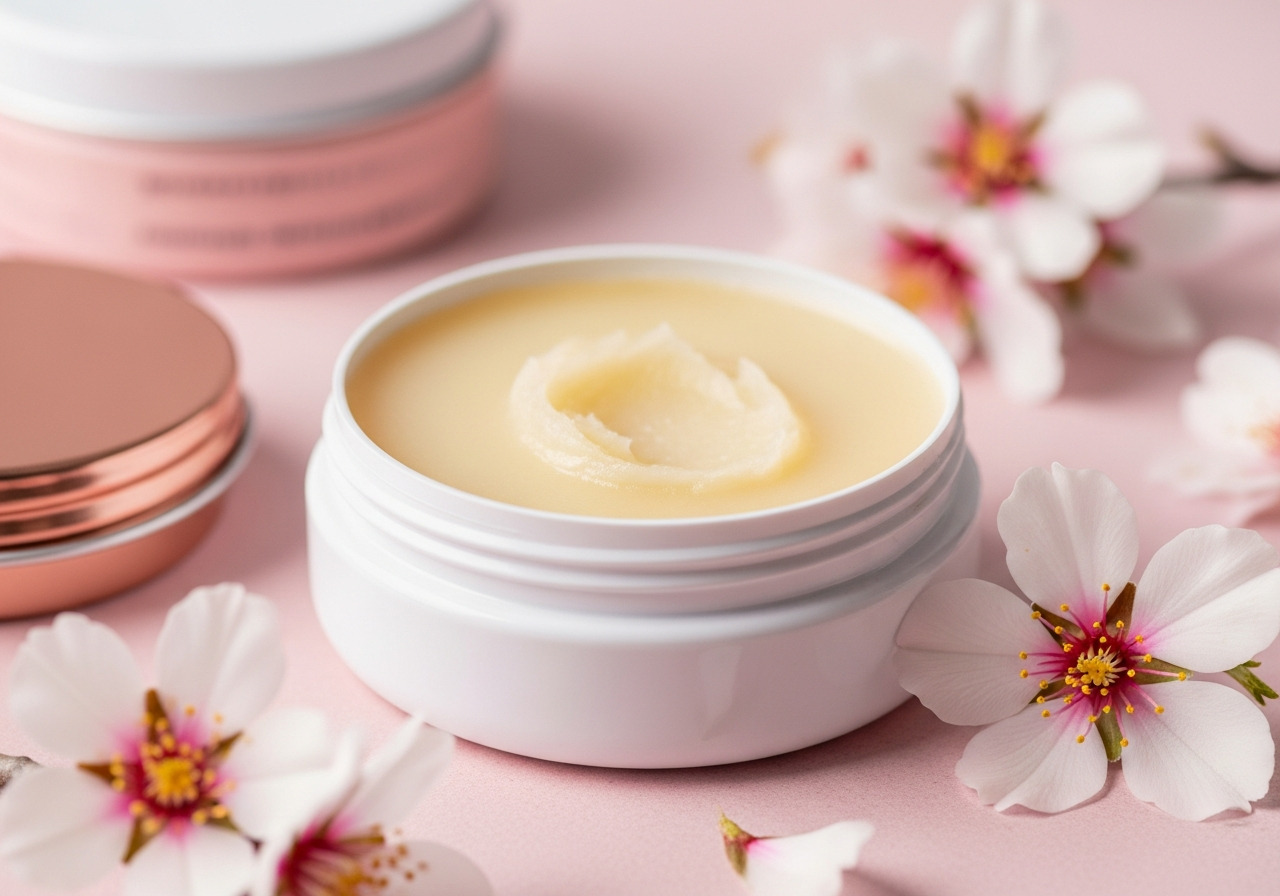
Step 6: Pour and Cool
Quickly pour the mixture into your storage containers while it's still liquid. Allow to cool completely at room temperature, which typically takes 20-30 minutes. The balm will solidify as it cools.
Critical Safety Warnings and Guidelines
⚠️ Important Safety Information:
- Patch Test Required: Before first use, apply a small amount to your inner wrist and wait 24 hours to check for any adverse reactions
- Essential Oil Dilution: Never exceed 15 drops of essential oil in this recipe (approximately 1% dilution rate)
- Heat Safety: Work carefully with melted wax to avoid burns
- Allergies: Avoid if you have known allergies to tree nuts, beeswax, or any other ingredients
- Eye Contact: Avoid contact with eyes; rinse immediately with water if contact occurs
Contraindications:
- Do not use if allergic to almonds or tree nuts
- Discontinue use if irritation occurs
- Consult a healthcare provider if you have sensitive skin or skin conditions
Storage Instructions and Shelf Life
Store your homemade almond oil beard balm in a cool, dry place away from direct sunlight. Small metal tins or glass jars work well for storage. When stored properly, this balm typically maintains its quality for 6-12 months.
Signs that your balm may need replacing include:
- Changes in scent (rancid or off odors)
- Changes in color or texture
- Separation of ingredients
- Any signs of mold or contamination
Variations and Substitutions
Oil Alternatives
While this recipe focuses on sweet almond oil, you can substitute or blend with:
- Jojoba oil (technically a wax, very stable)
- Argan oil (for additional traditional benefits)
- Coconut oil (use only 1 tablespoon, as it's solid at room temperature)
For those interested in exploring other almond oil DIY projects, these oils work well in various combinations.
Butter Alternatives
Instead of shea butter, you might try:
- Cocoa butter (harder consistency, chocolate scent)
- Mango butter (softer, more conditioning feel)
- Murumuru butter (lighter texture)
Consistency Adjustments
For a firmer balm: Add an extra ½ tablespoon of beeswax
For a softer balm: Reduce beeswax by ½ tablespoon or add an extra ½ tablespoon of oil
Application Tips and Usage
To use your homemade beard balm:
- Start with a clean, slightly damp beard
- Scrape a small amount (pea-sized) with your fingernail
- Warm between your palms until it becomes pliable
- Work through your beard from roots to tips
- Use a beard comb or brush to distribute evenly and style
Many users find that a little goes a long way with this recipe. Start with less product and add more as needed to avoid over-application.
The Benefits of Going Homemade
Creating your own beard balm offers several advantages beyond just cost savings. You control exactly what goes into your grooming products, can customize scents to your preference, and avoid ingredients that might not agree with your skin.
Sweet almond oil's traditional use in skincare applications makes it a popular choice for the sensitive skin underneath facial hair. Many people report that homemade products feel more personalized and satisfying to use than store-bought alternatives.
This simple recipe provides a foundation you can build upon, experimenting with different essential oil blends or adjusting the consistency to match your styling needs. Whether you're new to beard care or looking to upgrade your routine with natural ingredients, this DIY almond oil beard balm offers a gentle, customizable approach to facial hair grooming.
Remember: Individual results may vary, and it's always wise to consult with a qualified healthcare provider if you have specific skin concerns or conditions. Start with small batches to test your preferences before making larger quantities.