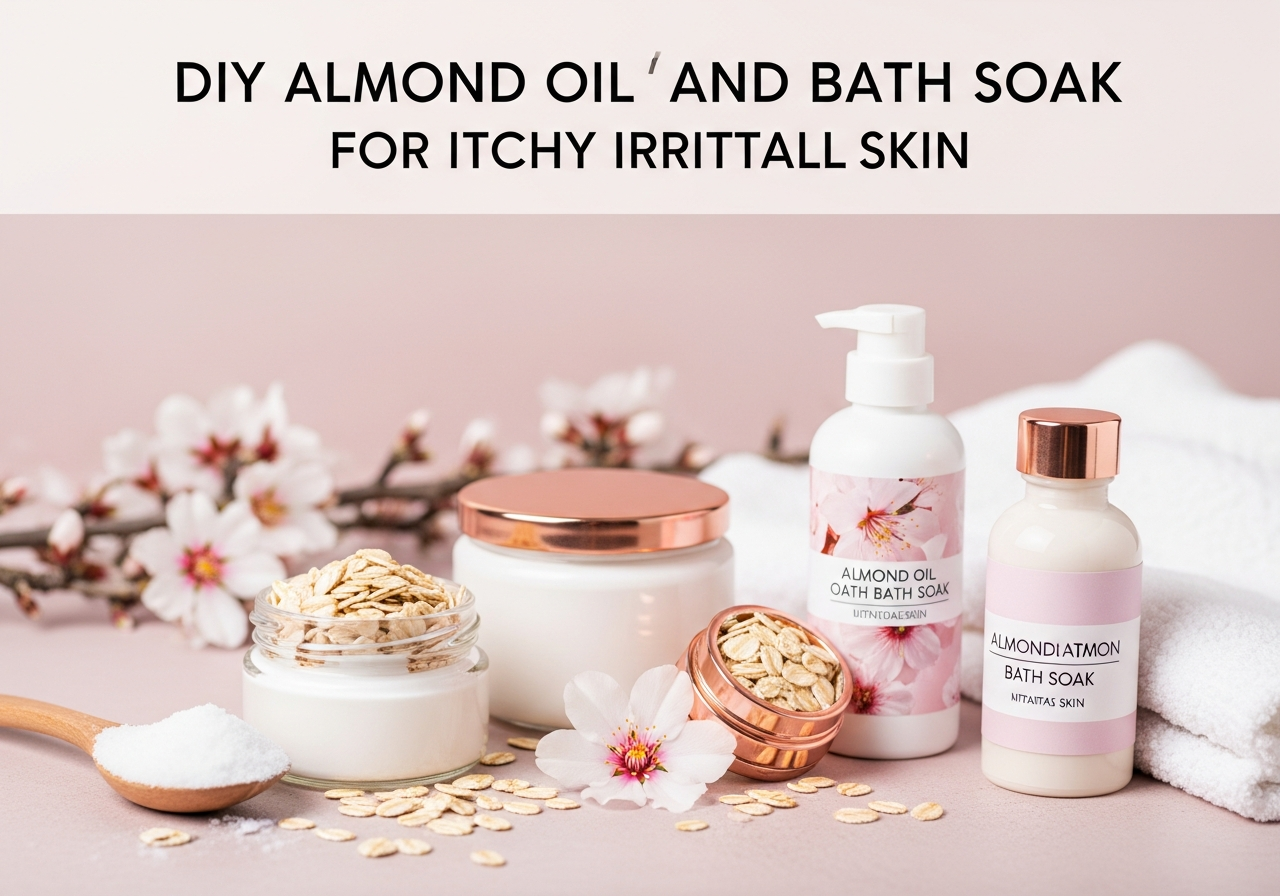
DIY Almond Oil and Oatmeal Bath Soak for Itchy, Irritated Skin
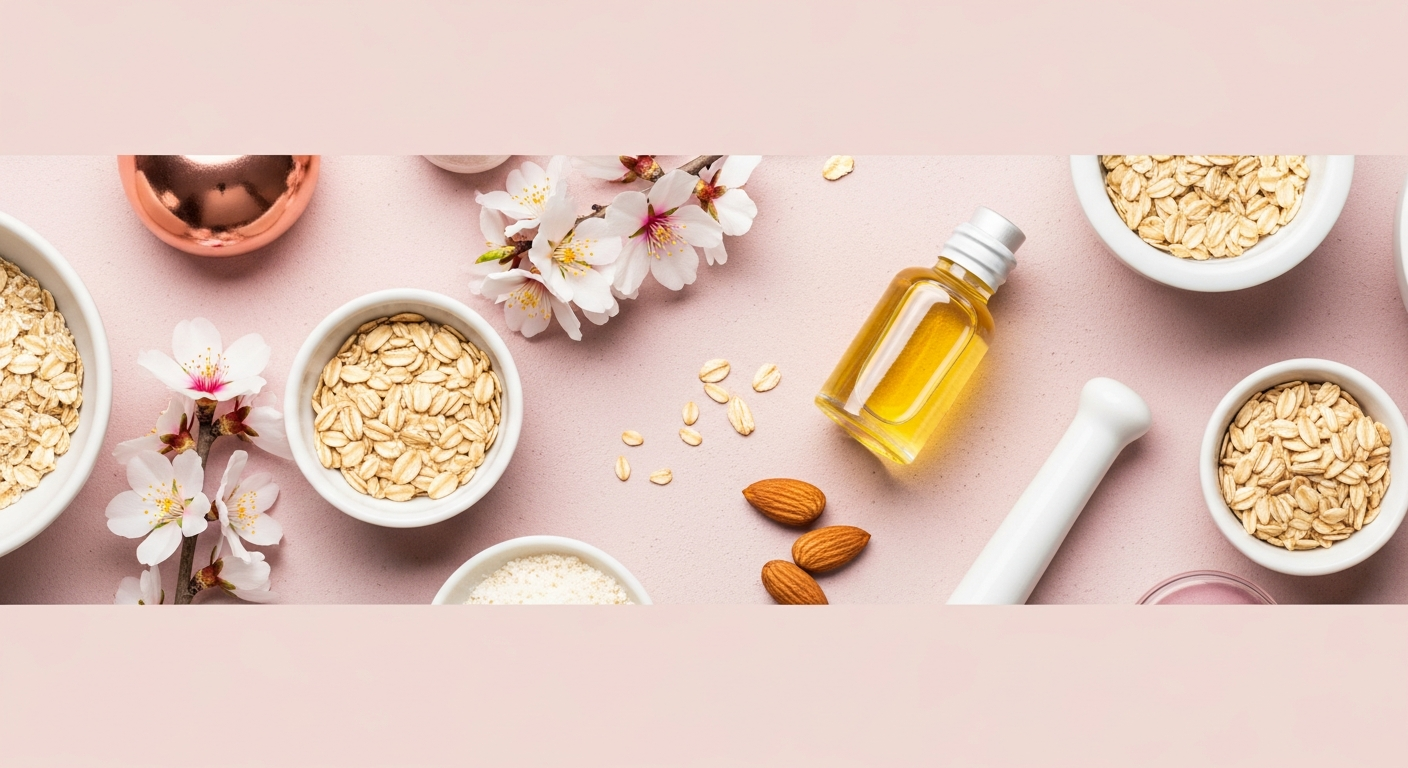
When your skin feels uncomfortable and needs some extra TLC, a gentle homemade bath soak can provide a luxurious, spa-like experience right in your own bathroom. This almond oil oatmeal bath soak combines two time-honored ingredients that people have traditionally used to pamper their skin for centuries.
Sweet almond oil is prized in skincare for its lightweight texture and gentle nature, while colloidal oatmeal has been used in baths since ancient times. Together, they create a diy bath soak recipe that may help create a more comfortable bathing experience for those dealing with dry or irritated skin.
What Makes This Bath Soak Special
This almond oil soothing bath recipe is designed with simplicity and gentleness in mind. The combination of finely ground oats and nourishing sweet almond oil creates a milky, moisturizing bath that may help support your skin's natural comfort level.
Sweet almond oil is naturally rich in vitamin E and contains fatty acids that some research suggests may help support skin barrier function. When you're dealing with dry skin conditions, this gentle oil can provide a lightweight moisturizing experience without feeling heavy or greasy.
Complete Ingredients List
For one bath (serves 1 adult):
- 1/2 cup rolled oats (old-fashioned, not instant)
- 2 tablespoons sweet almond oil
- 1 tablespoon baking soda (optional, for pH balance)
- 3-5 drops lavender essential oil (optional, for fragrance)
- 1 tablespoon powdered milk or coconut milk powder (optional, for extra creaminess)
Equipment needed:
- Coffee grinder, blender, or food processor
- Fine mesh strainer or cheesecloth
- Glass mixing bowl
- Measuring cups and spoons
- Airtight storage container
Step-by-Step Instructions
Difficulty Level: Beginner
Prep Time: 10 minutes
Bath Time: 15-20 minutes
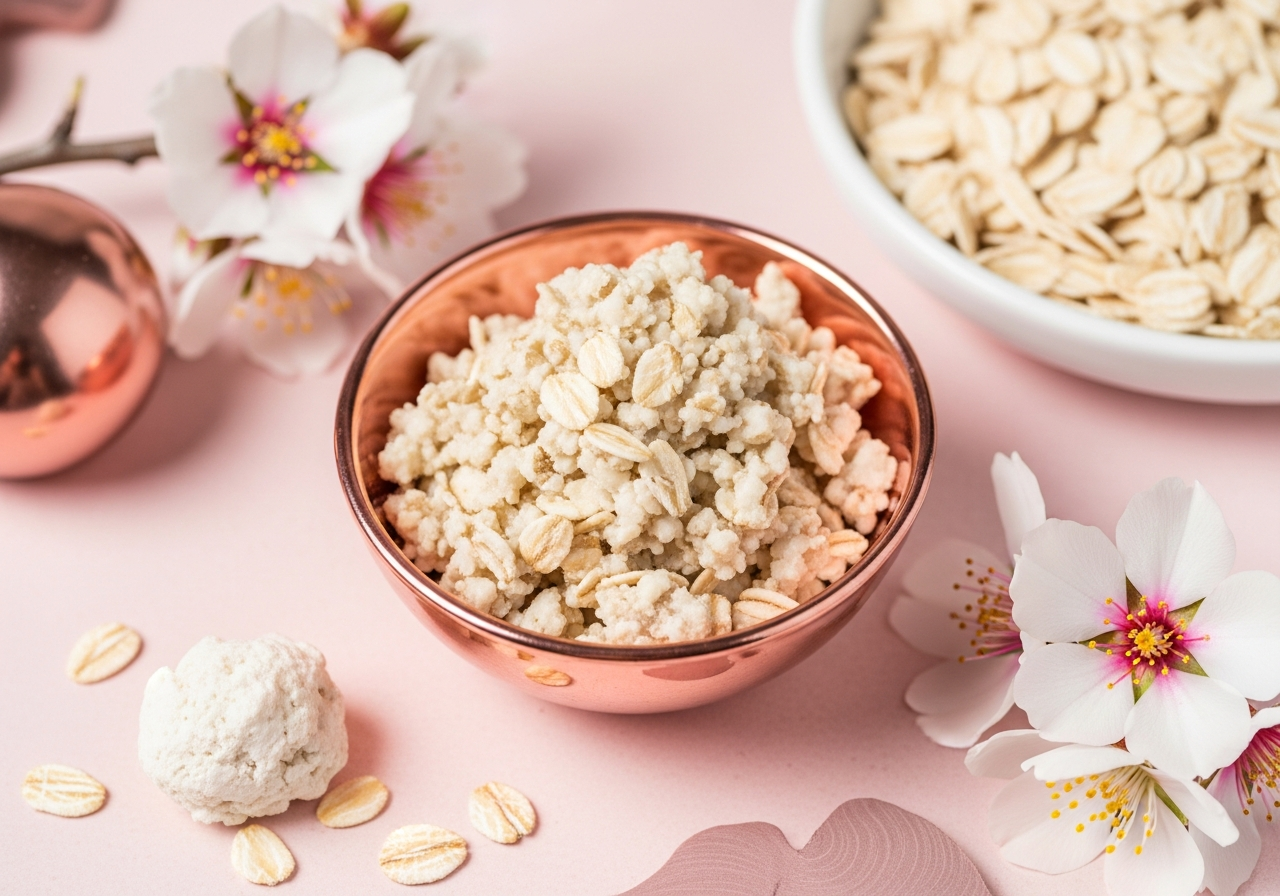
Step 1: Prepare the Colloidal Oatmeal
Grind the rolled oats in a coffee grinder, blender, or food processor until they form a fine powder. The texture should be similar to flour - this is called colloidal oatmeal. Sift through a fine mesh strainer to remove any larger pieces. This step is crucial for preventing clogged drains and ensuring the oats dissolve properly in your bath.
Step 2: Mix the Dry Ingredients
In a glass bowl, combine the ground oats, baking soda (if using), and powdered milk (if using). Whisk together until evenly distributed.
Step 3: Add the Oils
Slowly drizzle in the sweet almond oil while stirring continuously. If using essential oils, add them drop by drop and mix thoroughly. The mixture should have a slightly damp, sandy texture that holds together when squeezed but isn't overly wet.
Step 4: Test and Adjust
Take a small pinch of the mixture and dissolve it in a cup of warm water. It should create a milky solution. If it seems too oily, add a bit more ground oats. If too dry, add another teaspoon of almond oil.
Step 5: Prepare Your Bath
Fill your bathtub with warm (not hot) water - ideally between 98-100°F. Hot water can be drying and may increase skin irritation. Add 1/4 to 1/2 cup of your bath soak mixture under running water to help it disperse evenly.
Step 6: Enjoy Your Soak
Soak for 15-20 minutes maximum. Longer soaks may actually contribute to skin dryness. Gently pat your skin dry with a soft towel rather than rubbing.
Critical Safety Warnings
IMPORTANT: Before using this or any new skincare product, perform a patch test. Apply a small amount of the dissolved mixture to the inside of your wrist or elbow and wait 24-48 hours to check for any reaction.
Dilution Guidelines:
- Never use more than 1/2 cup of bath soak mixture per full bathtub
- Essential oils should never exceed 5 drops total per bath
- Always add bath products under running water to ensure proper dilution
Contraindications:
- Do not use if you have a known allergy to tree nuts, oats, or any listed ingredients
- Avoid if you have open wounds, cuts, or severely compromised skin
- People with sensitive skin conditions should consult with a qualified healthcare provider before use
- Pregnant or nursing individuals should avoid essential oils or consult their healthcare provider first
- Children under 3 should not use essential oils in bath products
Bathing Safety:
- Oils can make the tub slippery - use caution getting in and out
- Place a non-slip mat in your tub for added safety
- Keep water temperature moderate to avoid skin irritation
- Limit soaks to 15-20 minutes maximum
Storage Instructions and Shelf Life
Store your diy bath soak recipe in an airtight glass container in a cool, dry place away from direct sunlight. Properly stored, this mixture should maintain its quality for up to 6 months.
Signs it's time to discard your batch:
- Any rancid or off smells (especially from the almond oil)
- Changes in color or texture
- Visible mold or moisture
- Clumping that doesn't break apart easily
For maximum freshness, consider making smaller batches that you'll use within 2-3 months.
Variations and Substitutions
Oil Alternatives:
While sweet almond oil is ideal for its lightweight texture and gentle nature, you can substitute with:
- Jojoba oil (technically a wax, very shelf-stable)
- Sunflower oil (lighter alternative)
- Fractionated coconut oil (stays liquid at room temperature)
For more information about using almond oil in body care, explore different application methods and benefits.
Scent Variations:
- Calming blend: 2 drops lavender + 1 drop chamomile essential oil
- Refreshing blend: 2 drops peppermint + 2 drops eucalyptus (use sparingly)
- Unscented: Simply omit essential oils for sensitive skin
- Natural fragrance: Add 1 tablespoon dried lavender buds (strain before draining tub)
Texture Modifications:
- Extra creamy: Increase powdered milk to 2 tablespoons
- More cleansing: Add 1 tablespoon castile soap powder
- Mineral-rich: Add 1 tablespoon Epsom salt or sea salt
Tips for Best Results
To get the most from your almond oil soothing bath experience:
- Use lukewarm rather than hot water to avoid stripping natural skin oils
- Moisturize immediately after bathing while skin is still slightly damp
- Use 2-3 times per week maximum to avoid over-soaking
- Consider adding a humidifier to your bathroom for extra moisture
- Rinse the tub thoroughly after each use to prevent residue buildup
Final Thoughts
This gentle almond oil oatmeal bath soak offers a simple way to create a more comfortable bathing experience when your skin needs extra attention. While this recipe may help support your skin's natural comfort level, remember that persistent skin concerns should always be evaluated by a qualified healthcare provider or dermatologist.
The beauty of DIY skincare lies in being able to customize recipes to your preferences while knowing exactly what ingredients you're putting on your skin. Start with this basic recipe and adjust the ratios and add-ins based on how your skin responds.